Yêu cầu phần cứng
- Raspberry Pi 2
- Micro SD card 4G
- SSH Client (terminal window in linux or program like putty)
- Sip Client (either for your phone or PC) used to test connectivity (3cx, CSipSimple, etc)
Cài đặt
Việc cài đặt dễ dàng bạn có thể download file img đã được buid sẵn có tên RPBX có cả Asterisk và FreePBX
Trên windows dùng phần mềm Win32DiskImager để Ghi vào thẻ micro SD theo hướng dẫn
Sau khi cài đặt file image vào Micro SD bắt đầu khởi động vào hệ điều hành.
Chý ý : đặt ip tĩnh raspberry
Cấu hình.
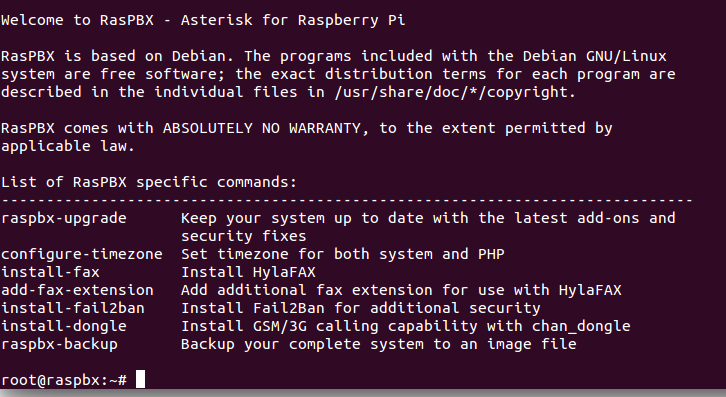
Loggin console vào Raspberry dùng phần mềm ssh client pytty.
Mật khẩu mặc định
- Login: root
- Password: raspberry
Các mật khẩu khác cấu hình sip
- Mysql root password: raspberry
- FreePBX Login: admin
- FreePBX Password: admin
Vi dụ ssh vào raspberry.
– Tiến hành update
raspbx-upgrade

Cấu hình time-zone
configure-timezone
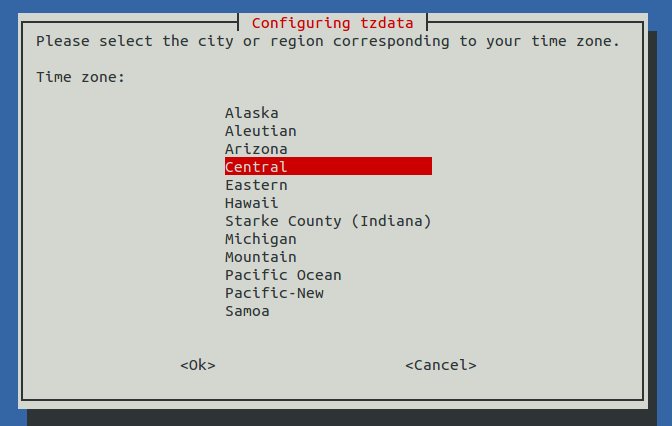
reboot
Cơ bản cấu hình FreePBX
– Logging into FreePBX with your web browser
Chúng ta dùng web browser nhập ip raspberry chúng ta nhìn thấy giao diện FreePBX
– Khai báo tài khoản sip
Click on FreePBX Administration
Login: admin / Password: admin
Once logged in, Click on Applications > Extensions
Click on Add Extension > Add New Chan_SIP Extension
- User Extension: This can be any number you’d like that should follow a dial plan that fits your needs (1000-sales, 2000-engineering, etc), For this example I use 1000
- Display Name: This is typically your First and Last Name, for this example I use my name Algis Salys
- Secret: This is the password that is needed, for extensions to register, for testing purposes, I just made it 1000. This typically should be a long length of a combination of alpha-numeric characters

Như vậy khai báo song tài khoản sip, giờ chỉ cần cài đặt soft phone trên PC hoặc smartphone test cuộc gọi.
Tag:Asterisk và FreePBX